
This post will guide you on how to use Xhorse Multi-prog Programmer to read and write EEPROM.
First, we check the model of the EEPROM.

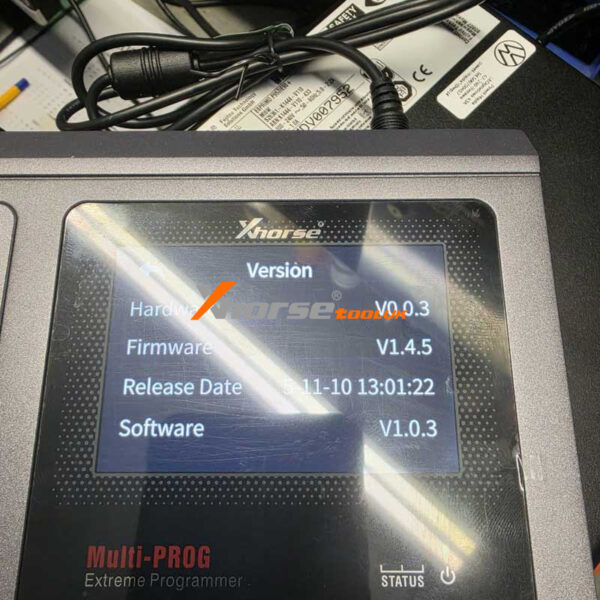
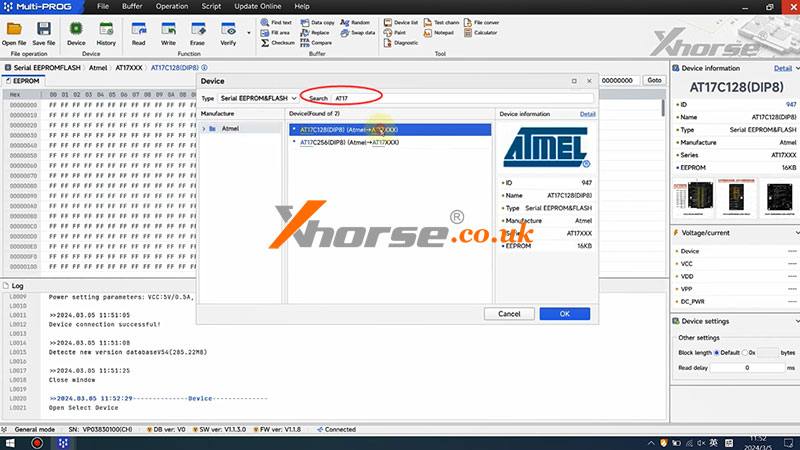
Then we open the Multi-prog software.
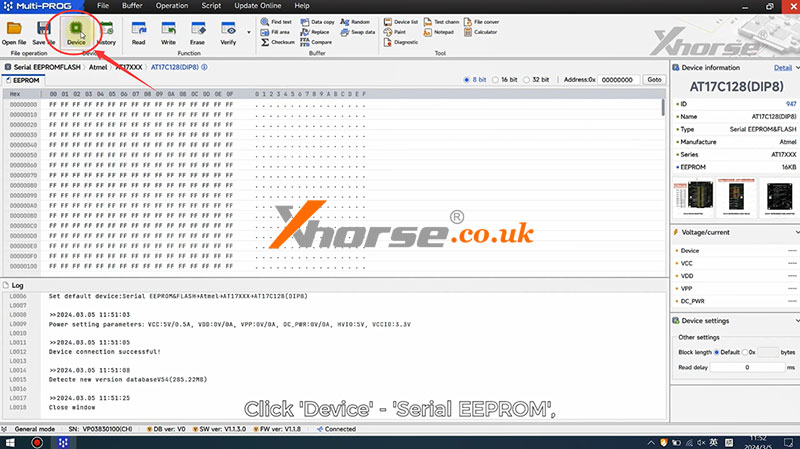
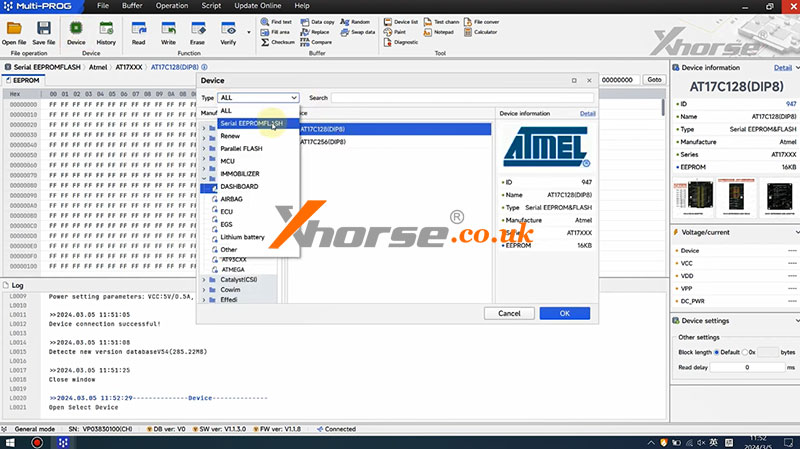
Click “Device”>>”Serial EEPROM&FLASH”, and enter the model number.
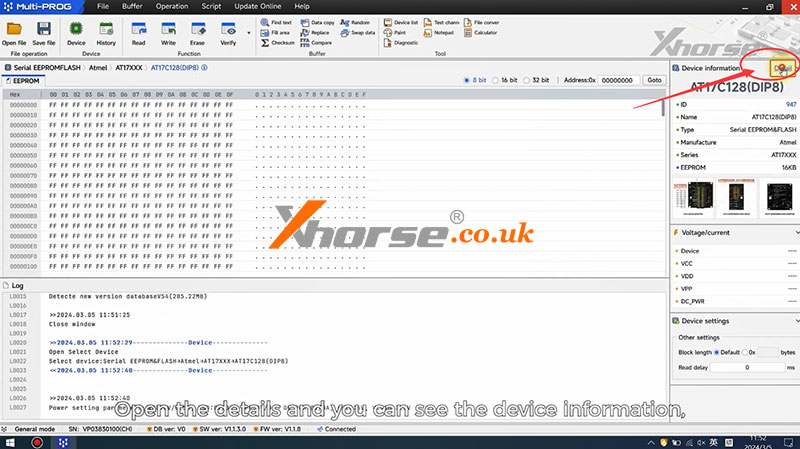
Open the “Details” and you can see the device information, important prompt, and adapter information.
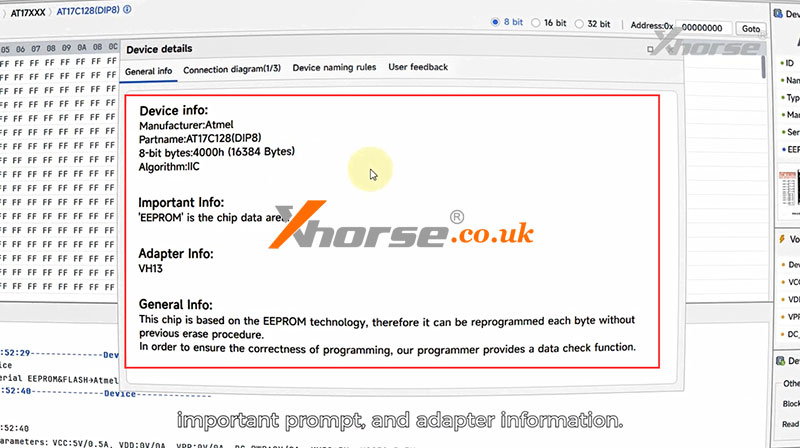
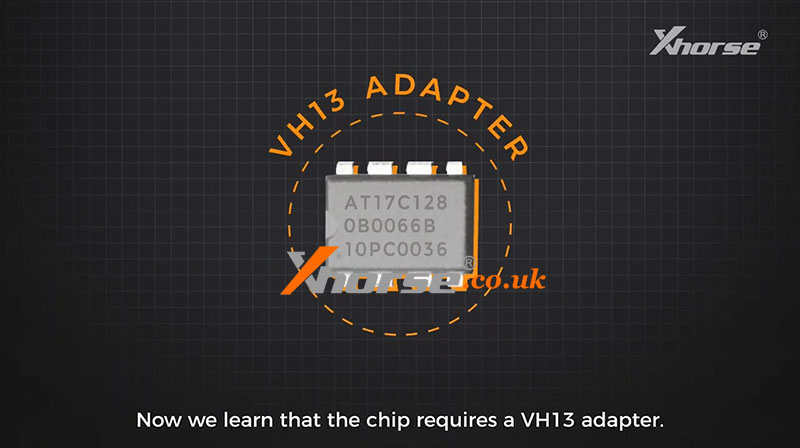
Now we learn that the chip requires a VH13 adapter.
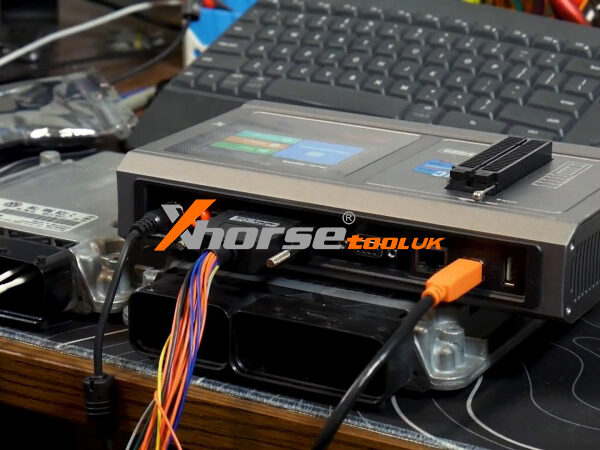
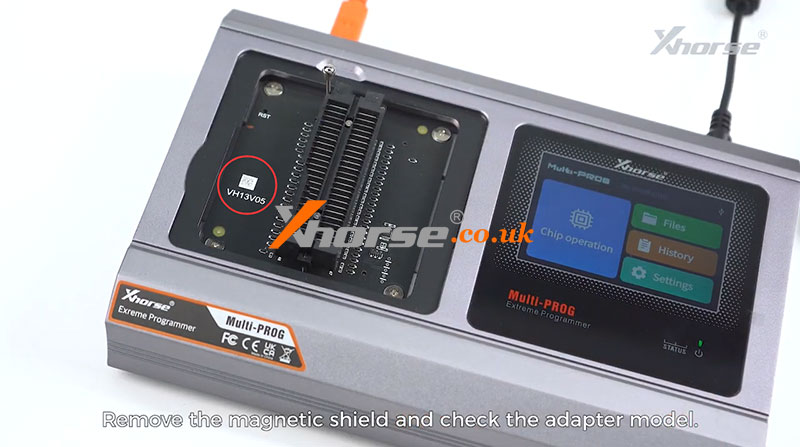
Remove the magnetic shield and check the adapter model.
Confirm that it is a VH13 adapter and put the shield back.
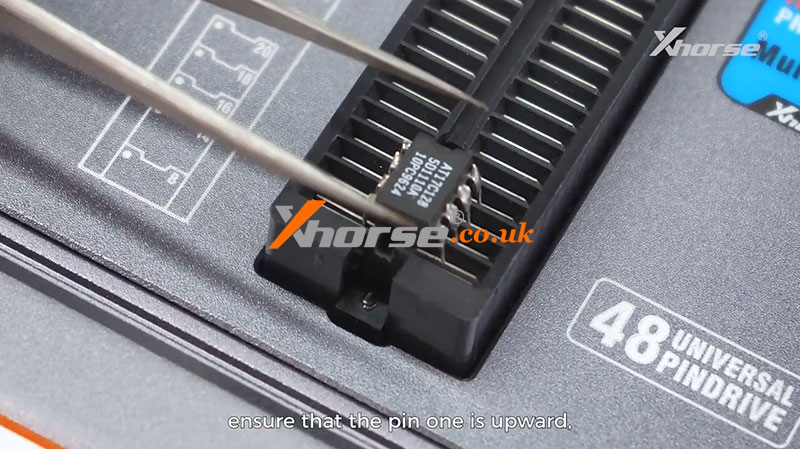
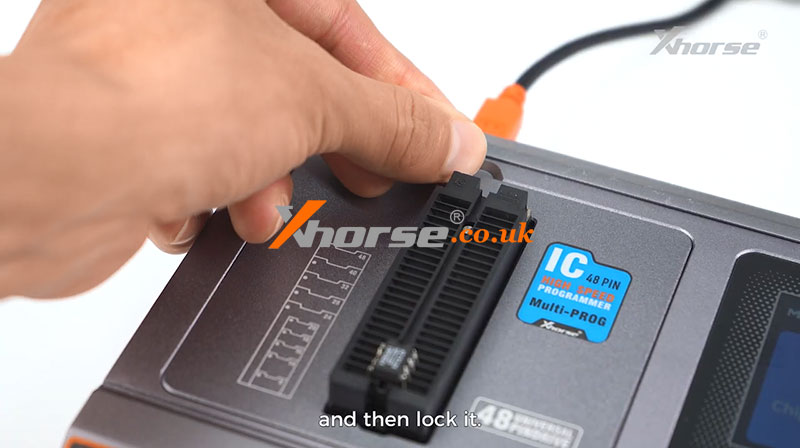
Place the chip aligned at the bottom, ensure that the pin one is upward, and then lock it.
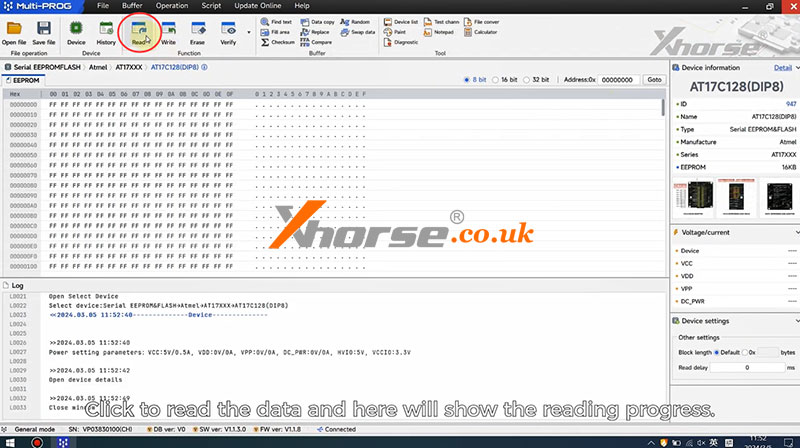
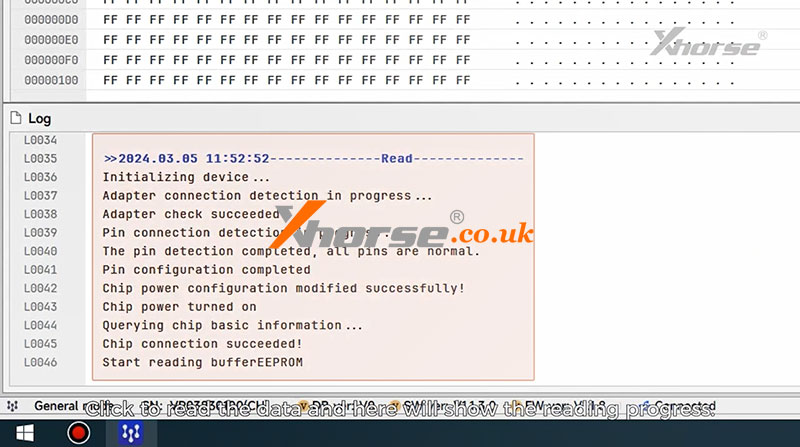
Click to read the data and here will show the reading progress.
It’s successful.
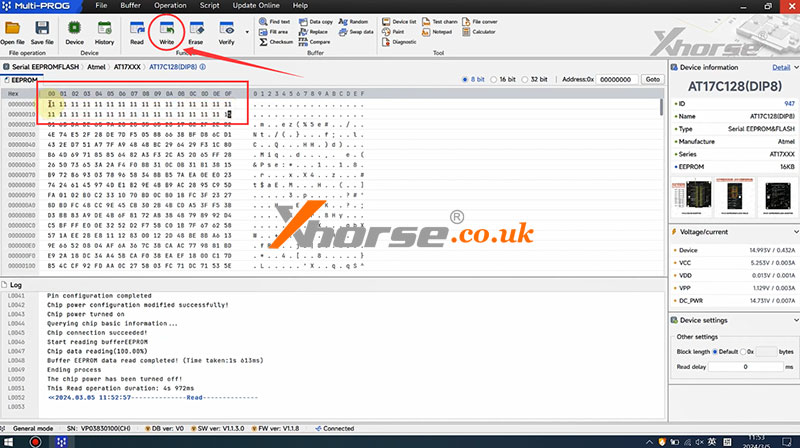
We can modify the data just like this and click here to write it in.
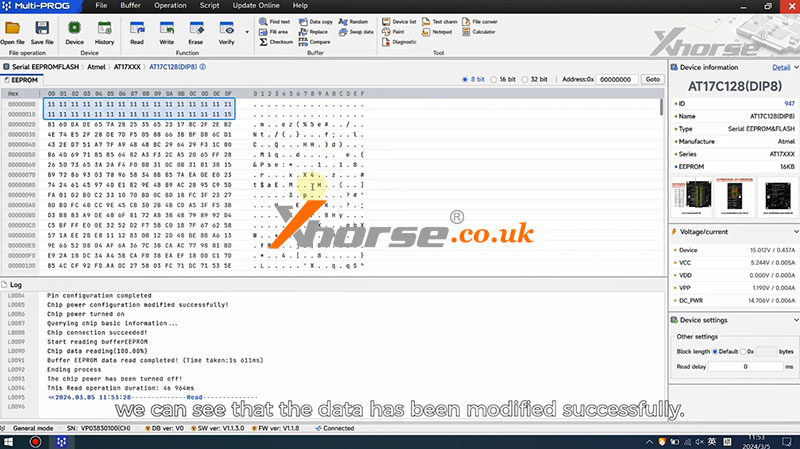
When we read the data again, we can see that the data has been modified successfully.
For more details, please refer to the video below: