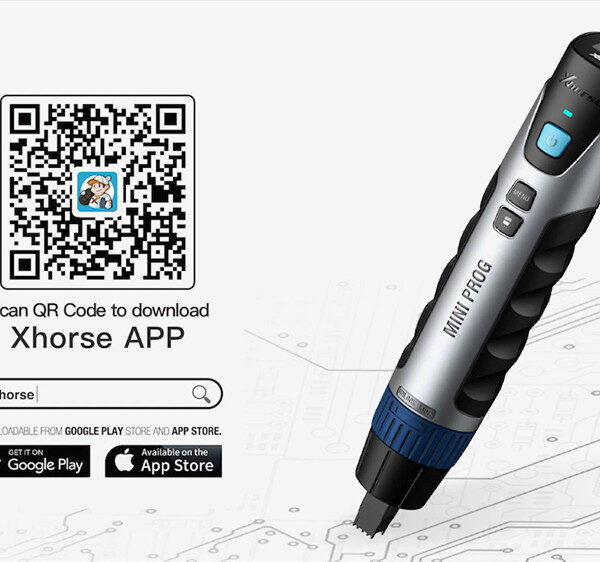

In this post, I’ll show you Xhorse MINI Prog configuration.

As we can see, the Xhorse MINI Prog configuration contains an Xhorse MINI Prog, 3 Pin headers, an EEPROM adapter, a DB15 cable, and a USB cable.
Now, I’ll introduce them one by one.
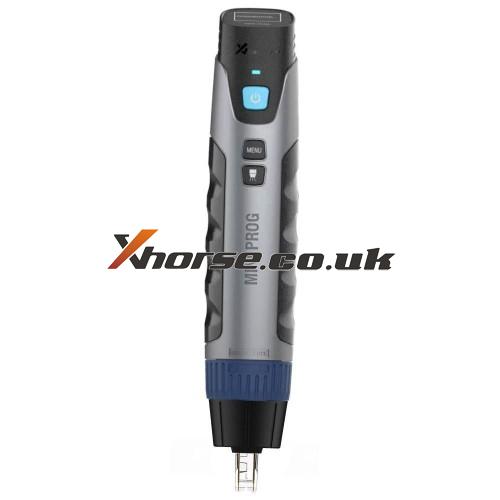
1. Xhorse MINI Prog
This is Xhorse MINI Prog.
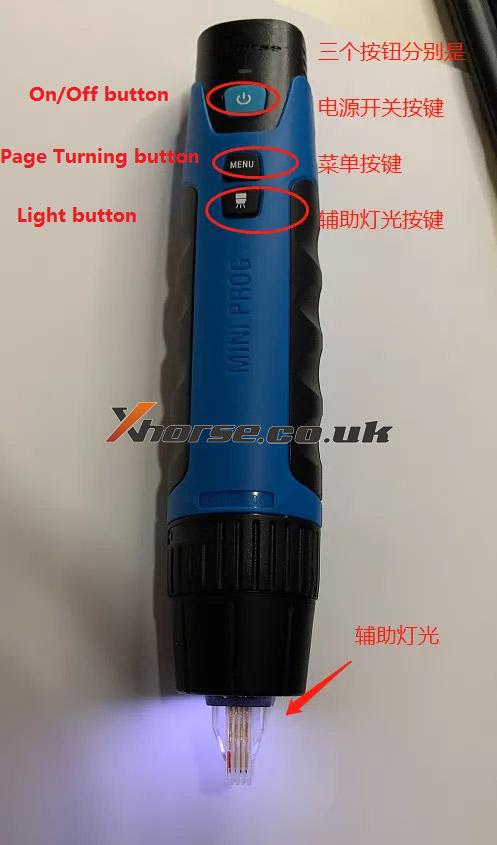
There are 3 buttons on the front side of Xhorse MINI Prog, namely, the On/Off button, the Menu button, and the Auxiliary Light button.
On/Off button: press it to start the device.
Menu button: press it to select what you want.
Auxiliary Light: press it when you are working in a dark environment.
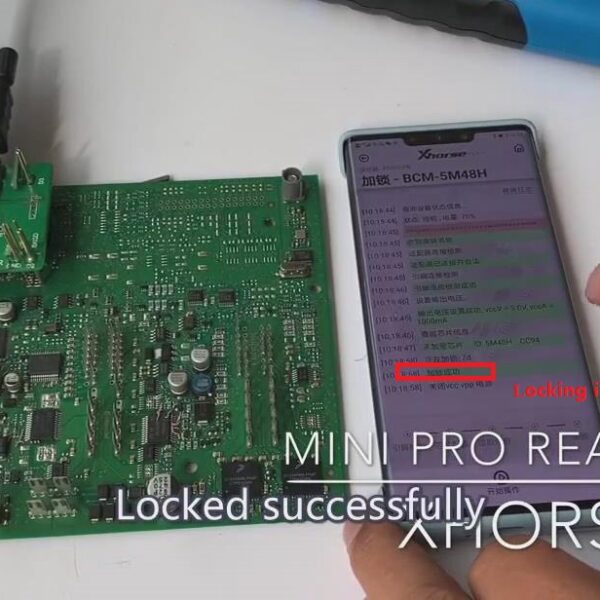
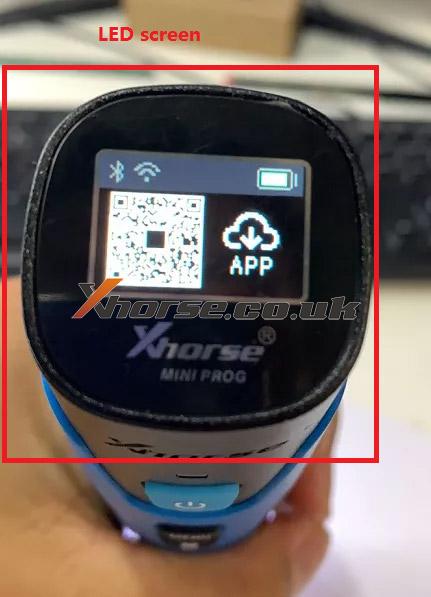
This is the LED screen, it can display the working status.
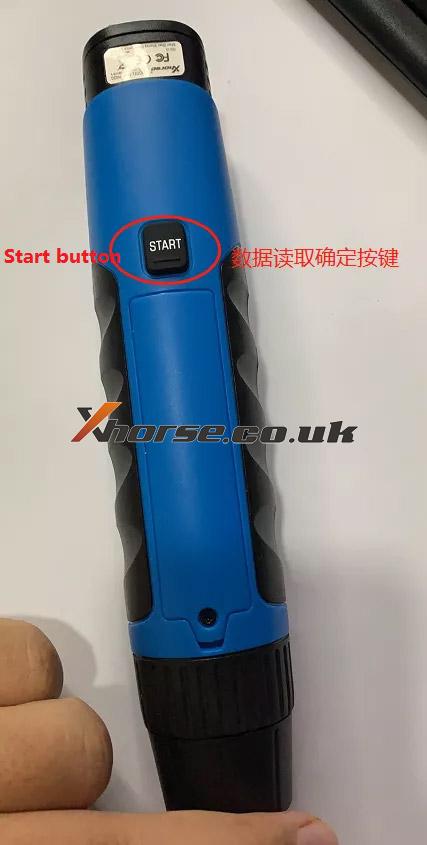
There is a Start button on the backside of Xhorse MINI Prog.
2. Pin headers
These are 3 Pin headers.

They can read 8-pin EEPROM data without soldering.
3. DB15 cable
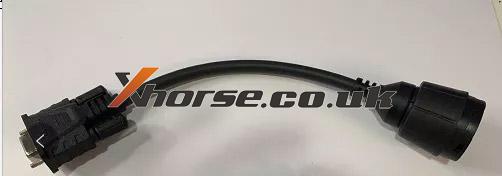
This is a DB15 cable.
It can connect Xhorse MINI Prog to the EEPROM adapter.
4. EEPROM adapter
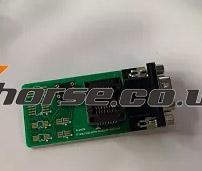
This is an EEPROM adapter.
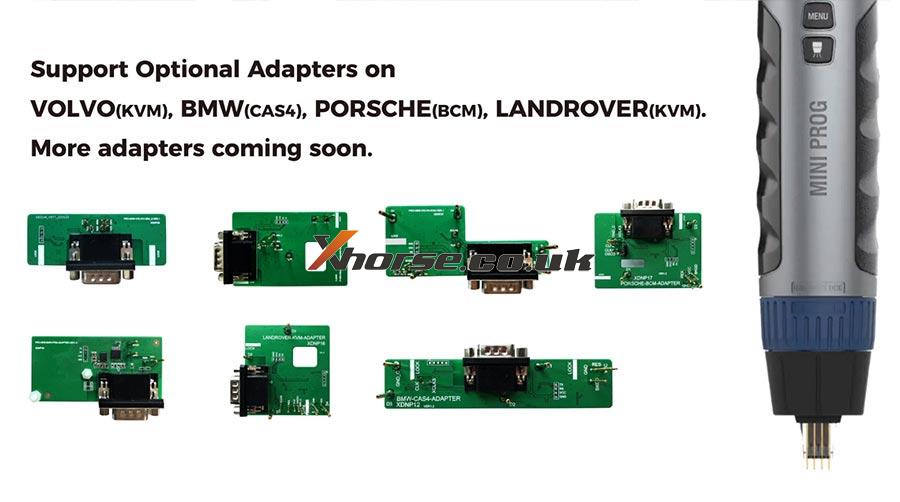
5. Optional adapters.
https://www.xhorsetool.co.uk/