
Hey everyone, let me walk you through an ECU cloning job I just wrapped up using the Xhorse Multi Prog. A customer dropped off two modules – one original, and a used one from eBay – and asked me to copy the data from the original to the replacement. No complicated instructions, just a straightforward clone. Here’s how it went.
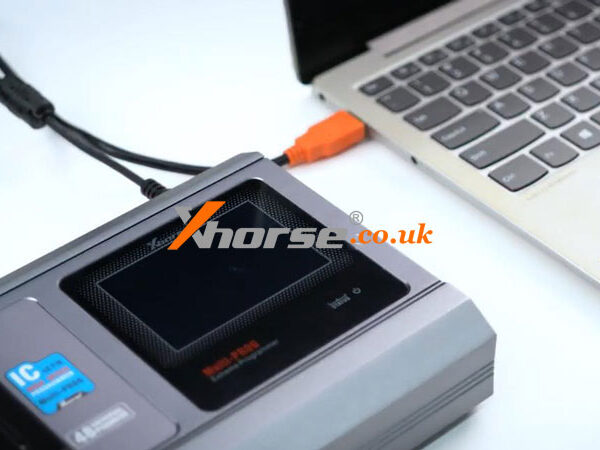
Step1. Connect
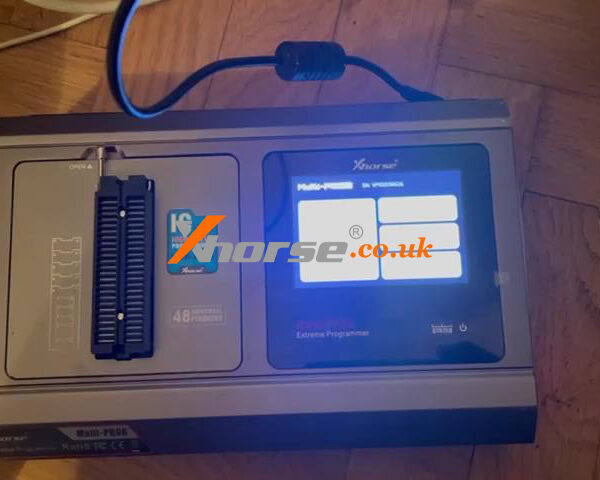
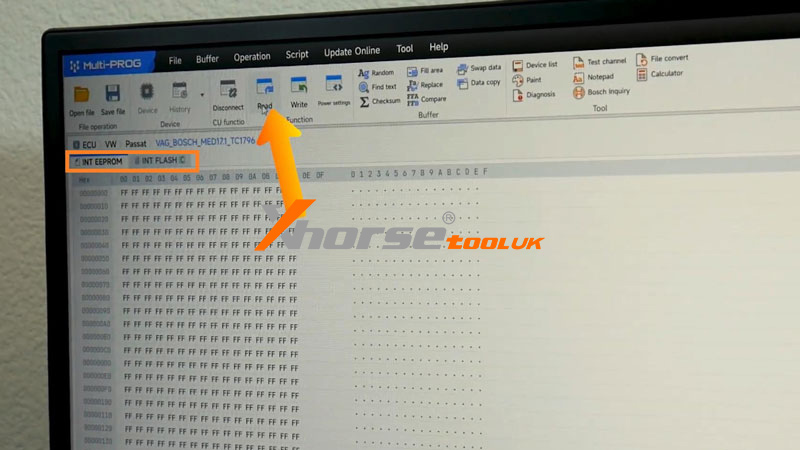
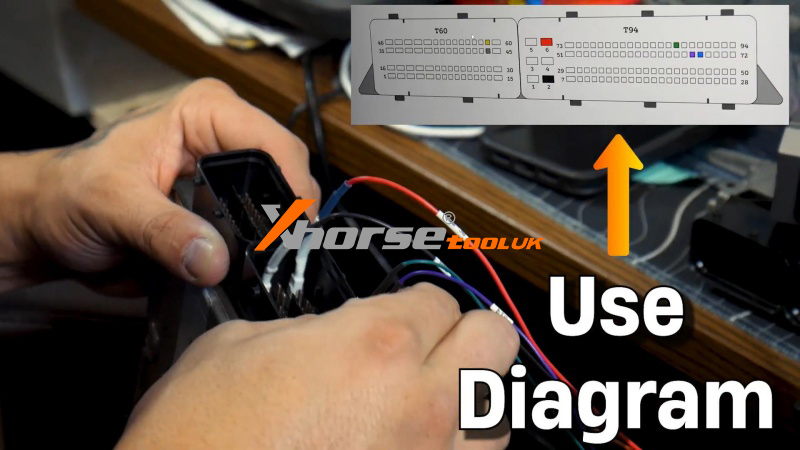
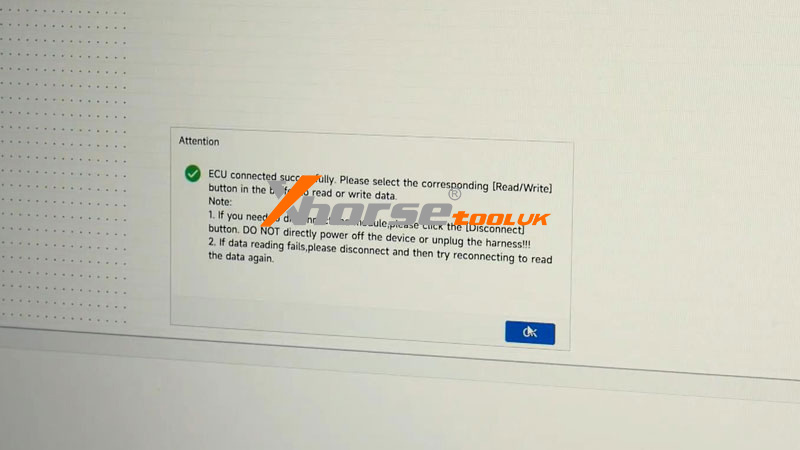
First, I hooked up the original ECU. The Multi-Prog makes pin-outs super clear, so even if you’re not a wiring diagram expert, you’ll get it right. I selected the ECU model – in this case, a VW CC with an MED 17.1 – and hit Connect.
Step2. Read EPROM & Flash
Once connected, I focused on two key sections:
Internal EPROM and Internal Flash.
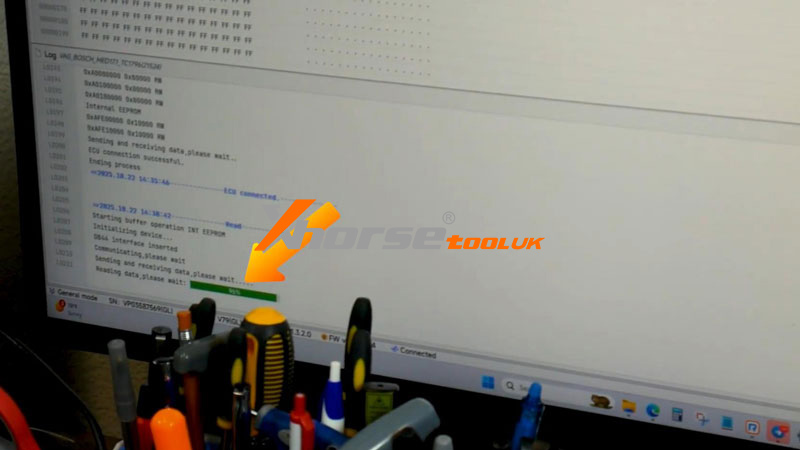
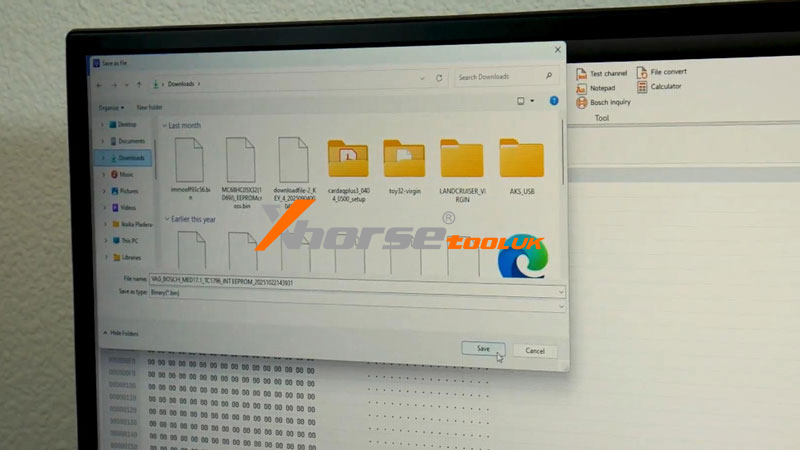
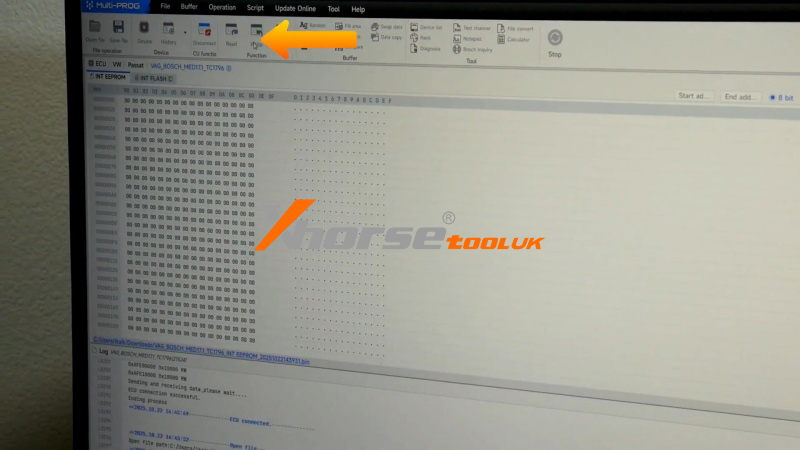
I started by reading the Internal EPROM. Hit the read button, waited for the progress bar, and checked to make sure the data wasn’t blank. Everything looked good, so I saved the file.
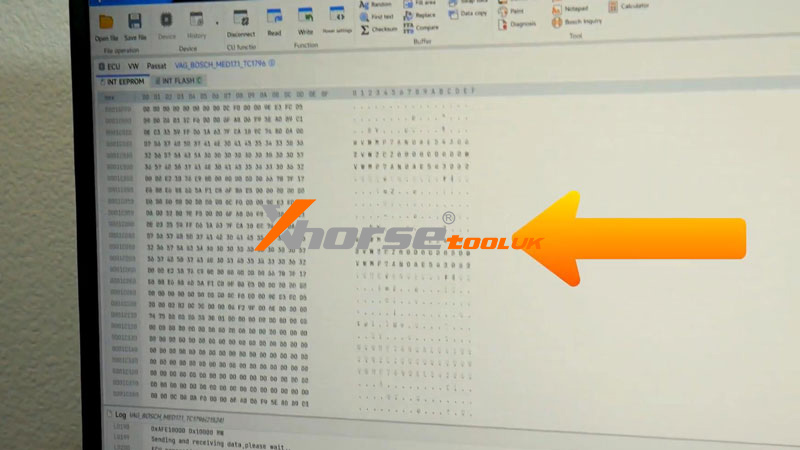
Next, I moved to the Internal Flash. Reading this takes a bit longer since the file is larger, but once it finished successfully, I scrolled through to verify the data and saved it, too.
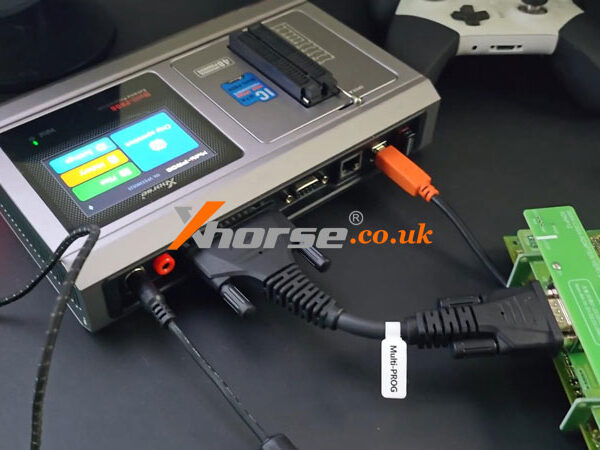
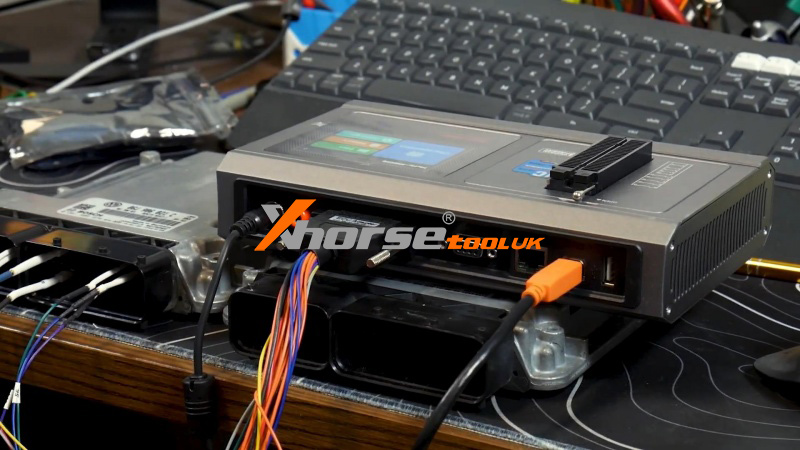
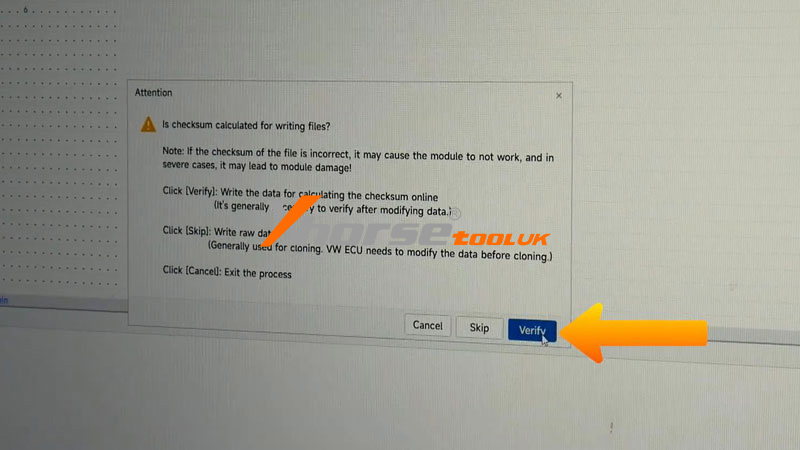
Step3. Write
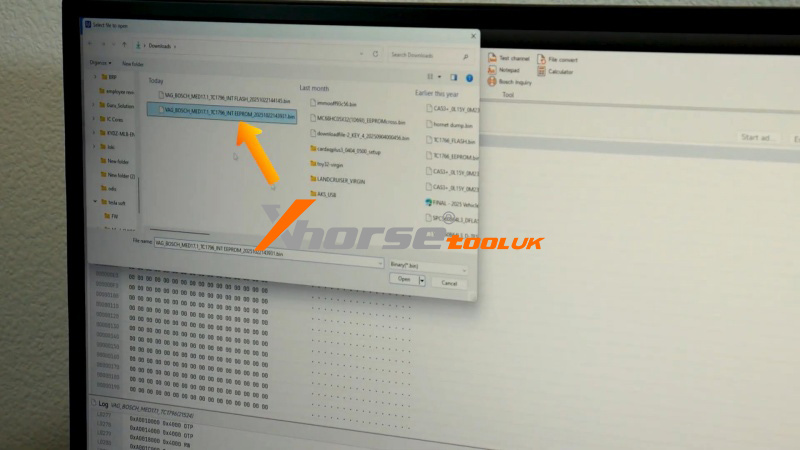
Then I switched over to the used ECU. Following the same pin-out diagram, I connected to it, opened the saved EPROM file, and hit Write. After that, I did the same for the Flash file.
And that’s basically it. After writing both files, I disconnected everything. The customer just needs to plug the cloned ECU into the vehicle and perform a mileage calibration. Once that’s done, the car should start right up.
The Xhorse MultiProg really keeps things simple – even if you mix up the pins, it’s pretty tough to break anything. Whether you’re new to ECU work or a seasoned tech, this tool makes cloning straightforward and reliable.
For more info on tools, supplies, or locksmith training, visit www.xhorsetool.co.uk