
If you’ve received the new Xhorse Multi-Prog, but find that there’s no response when connecting to the computer. The software shows the device is not connected. Don’t worry, that’s because you haven’t installed the Multi-Prog driver yet. Just follow the steps below.

For the Win10 system, the driver will be installed automatically. So you don’t have to worry about it.

For the Win7 system, we need to install the driver manually.

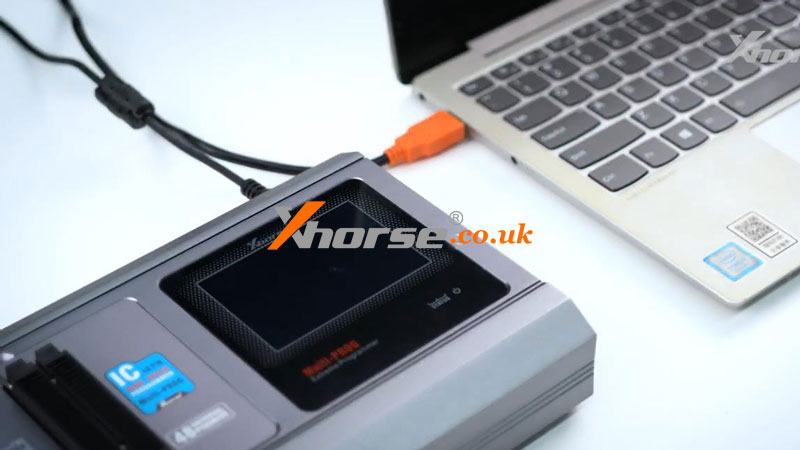
1. Connect Multi-Prog programmer to computer.
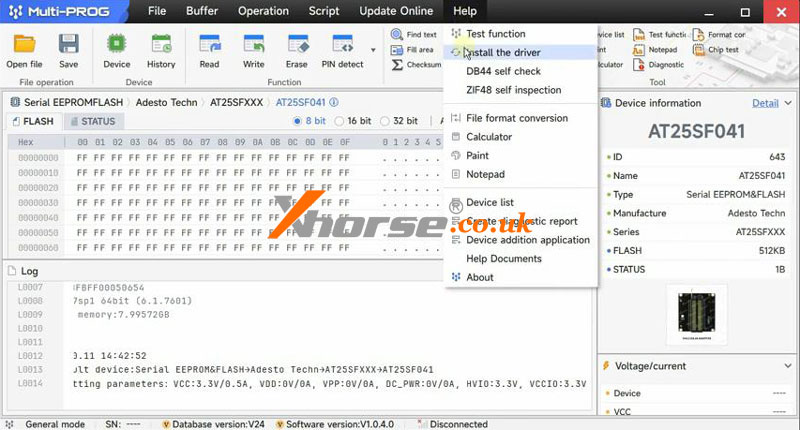
2. Open software: Help >> Install the driver >> Multi-prog device
There will be a popup.
*If it’s blank, it means the device is not recognized. At this time, we need to re-plug the device or change the port until a multi-prog device appears here.
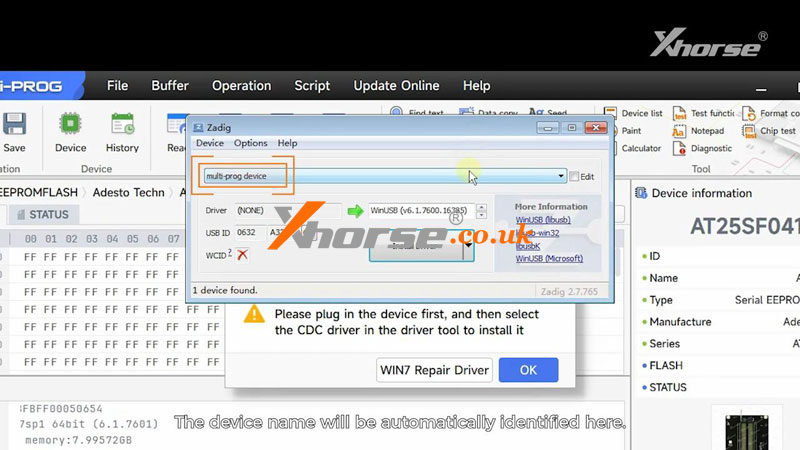
3. Click small arrow to find the “USB Serial(CDC)” driver, start the installation.
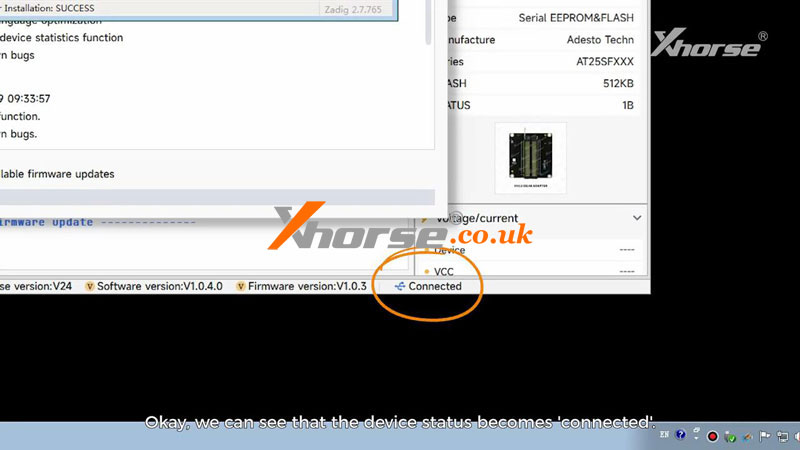
The driver was installed successfully.
We can see that the device status becomes “connected”.
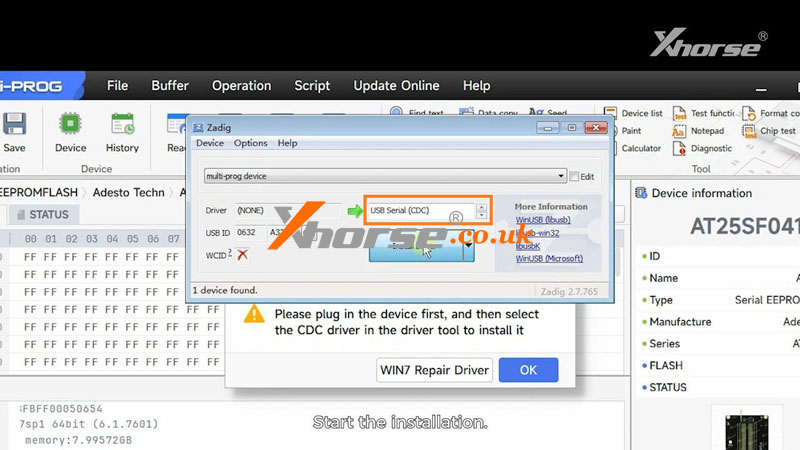

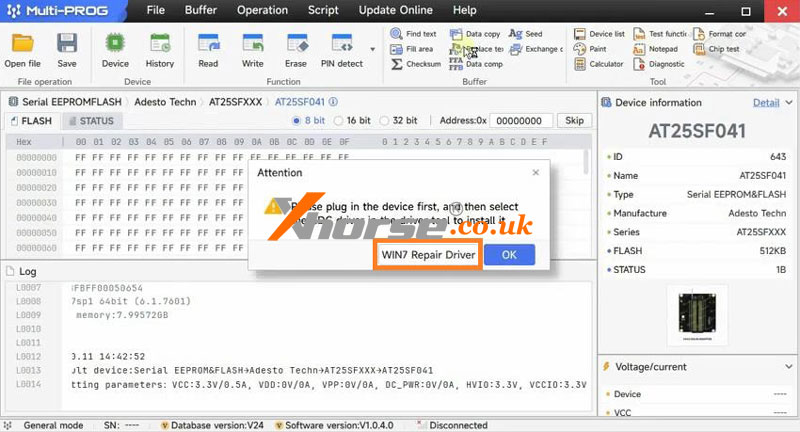
*If the installation fails, we need to click “WIN7 Repair Driver” first, and then install the driver again.
That’s all for the manual installation method of the Multi-Prog driver.
Hope this is helpful.
Video Guides: