
This post will show you how to assemble Xhorse VVDI BE Key Pro PCB and Benz Smart Key Shell.
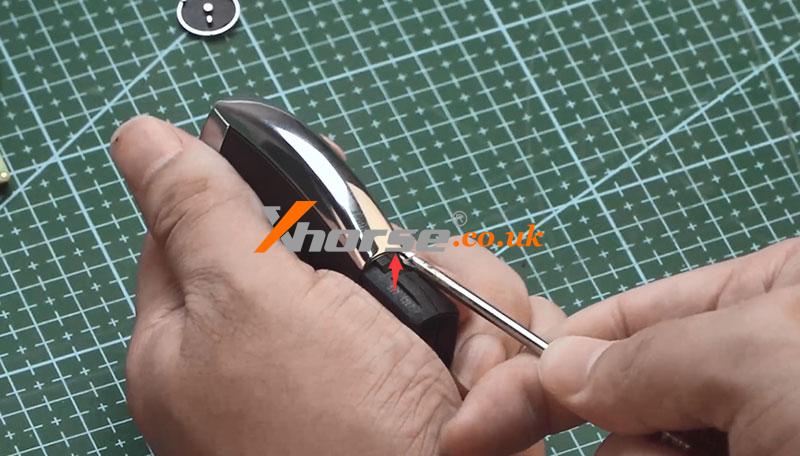
Step 1. Remove the Benz smart key shell.
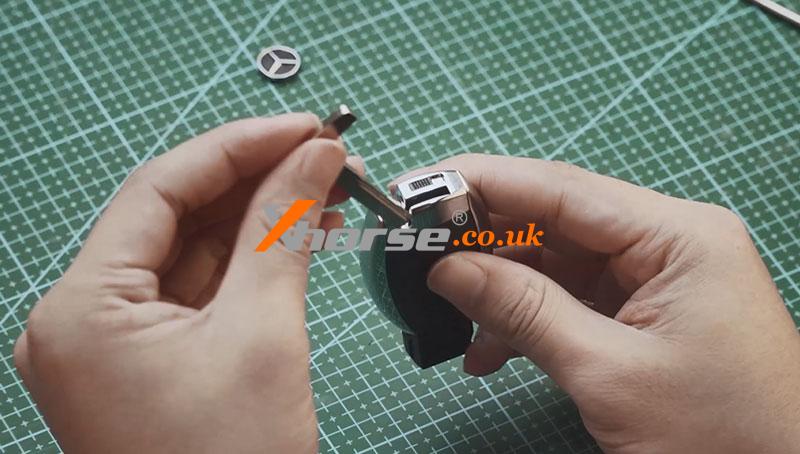
Use a screwdriver to slide the top button of the key fob as shown so that the small key pops out, then remove it.
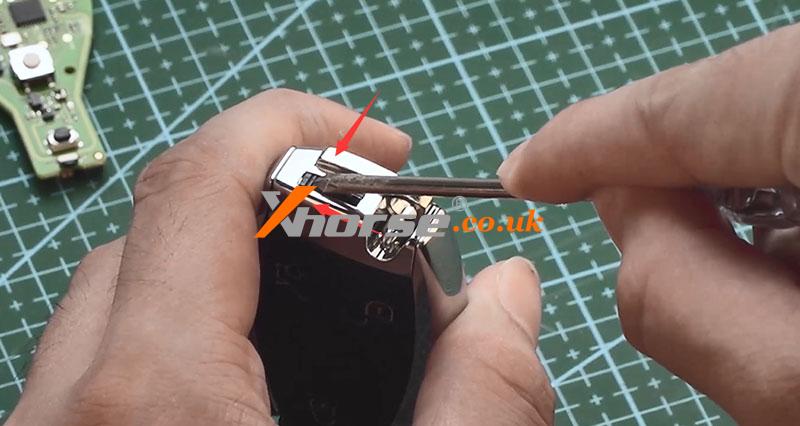
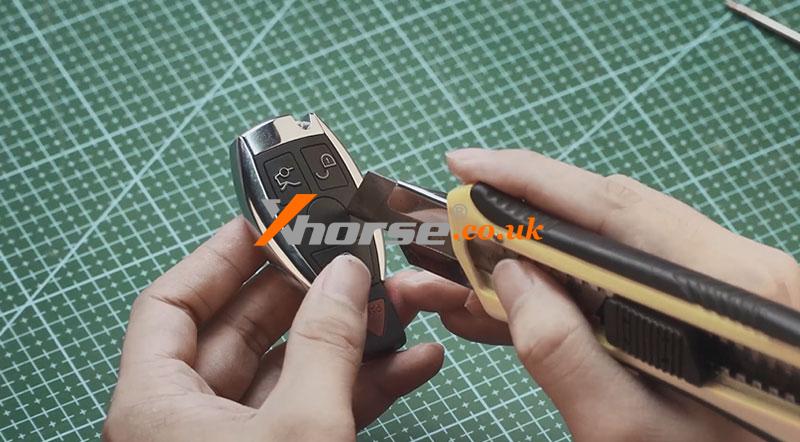
Use a screwdriver to open the shells on both sides and the top of the keychain.
Then break the rest by hand.
Above we have completed the whole disassembly of benz 4 Button Key Shell.
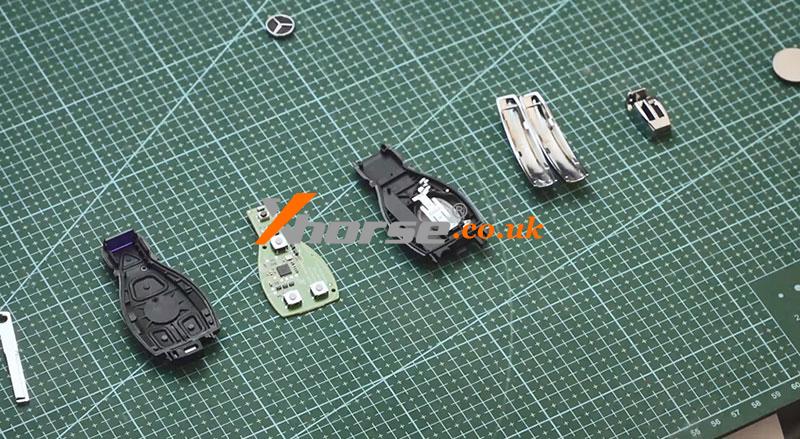
Step 2. Install the PCB into the key shell.
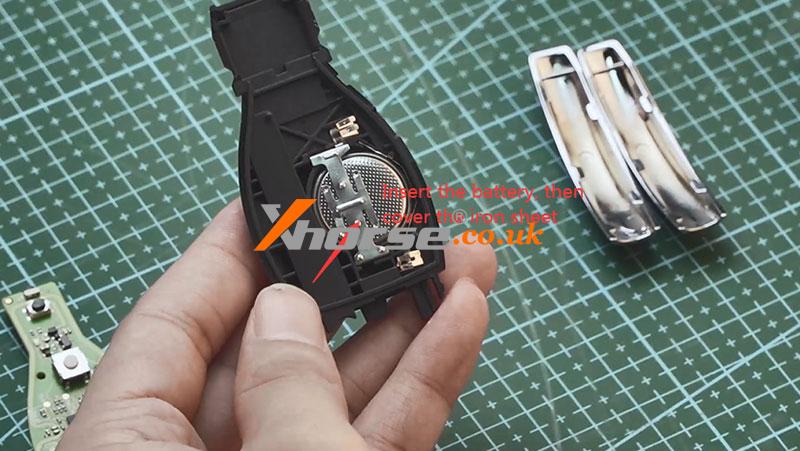
First, we need to install the battery, take out the iron sheet above the battery slot, insert the battery and then cover the iron sheet.
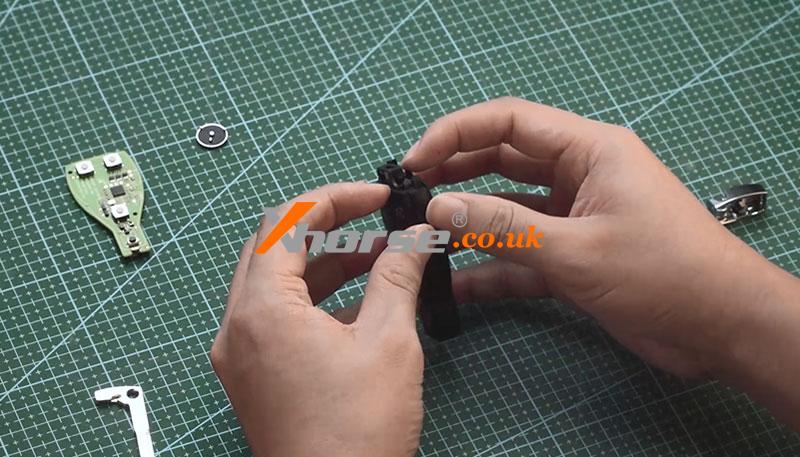
Then place the PCB.
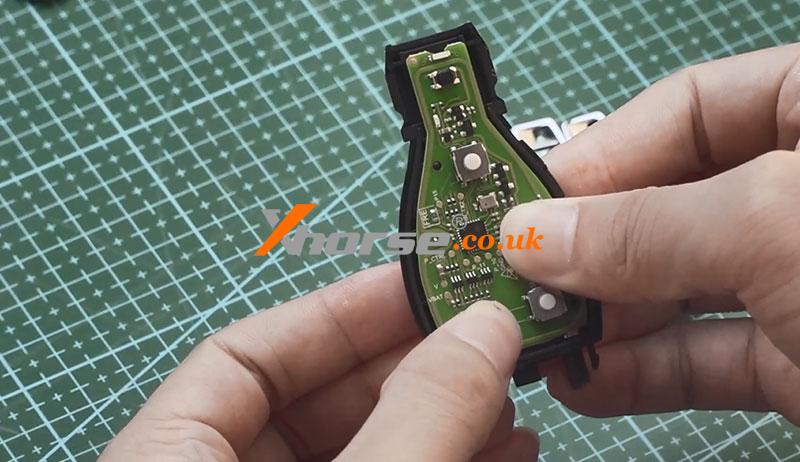
Align the top left and bottom right corners of the chip, then close the other half of the key shell tightly, then install the sliding shells on both sides.
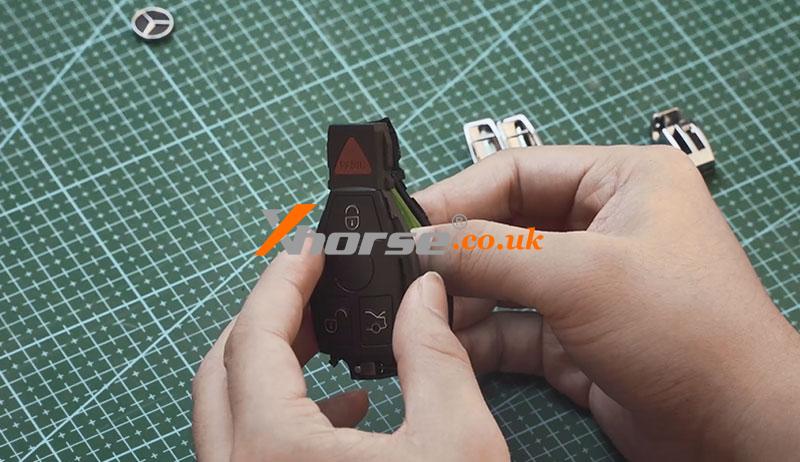
Reinstall the top shell, insert the small key.
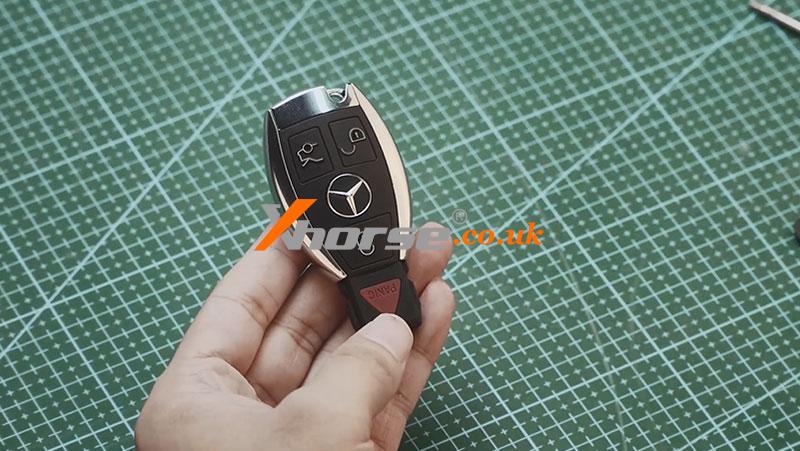
Step 3. Install the Mercedes-Benz logo.
Use a knife to peel off the label cover on the surface of the key case, then replace it with one with the Mercedes-Benz logo.
For more detailed steps, please refer to the following video: