
This post will guide you on how to use Xhorse VVDI Key Tool Max PRO and TOY-BA cable to read the immo date and add a new key for the 2022 Alphard.
Here comes the procedure:
1. Generate Remote
Take out the PCB board of the XM38 smart key, pop in the battery, and place the PCB board on the coil of the device.
Click on [Remote Program], select the desired option, and hit [Generate] to generate the remote.
Now the smart key has been generated.


2. Read IMMO Data
Then we need to read the immo data of the smart key box of the vehicle.
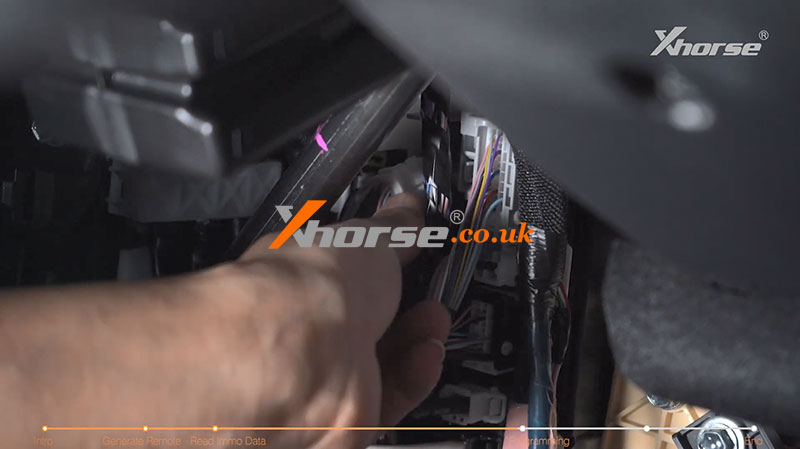
The smart key box of the 2022 Alphard is above the driver’s brake pedal.
Remove these 3 trim panels in a proper order.
Then you’ll need to locate the smart key box.
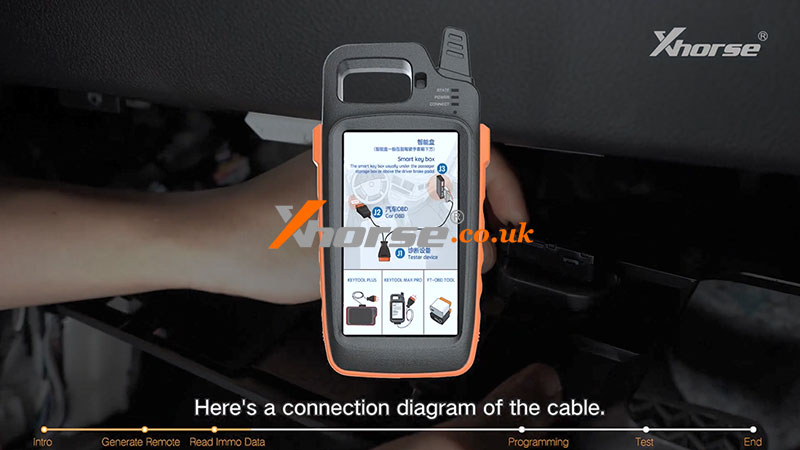
Here’s a connection diagram of the cable.
First of all, remove the 30-pin plug of the smart key box of the vehicle.
Note: Do not unplug the other two connectors.
Plug the TOY-BA cable into the smart key box.
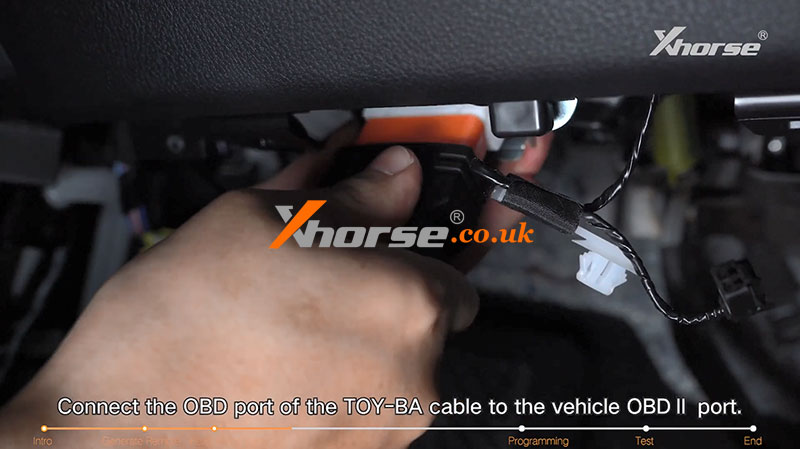
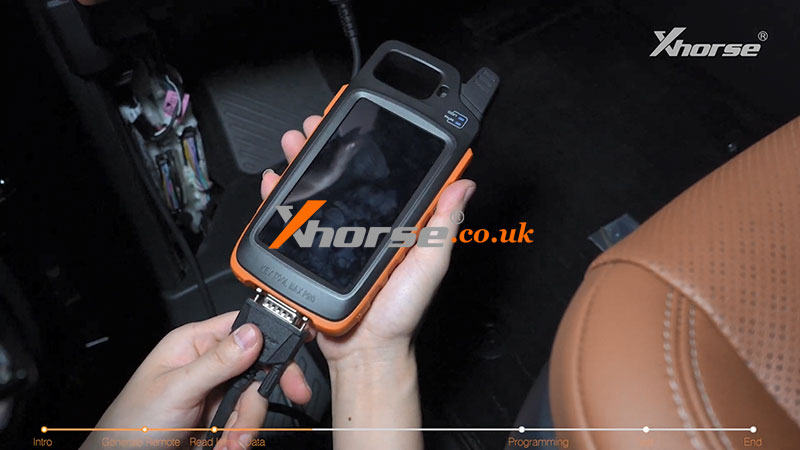
Connect the OBD port of the TOY-BA cable to the vehicle OBD II port.
Then connect the TOY-BA cable to Key Tool Max Pro using the OBD cable.

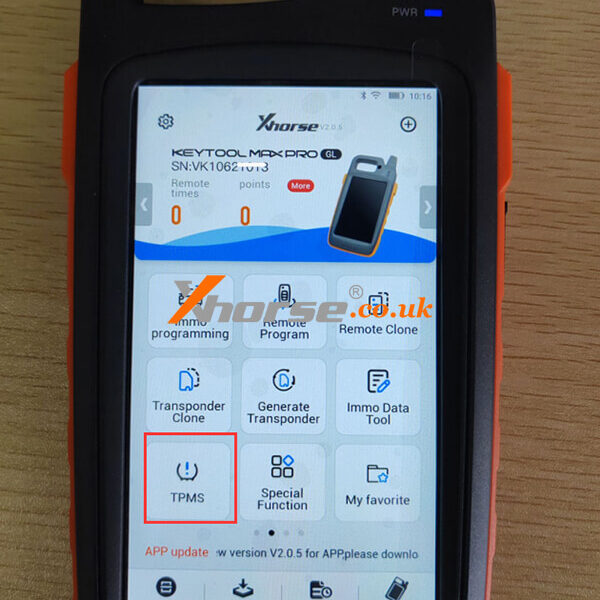
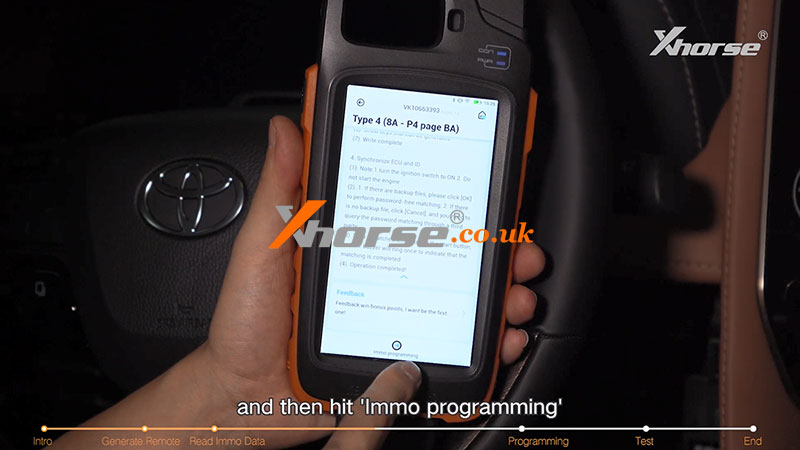
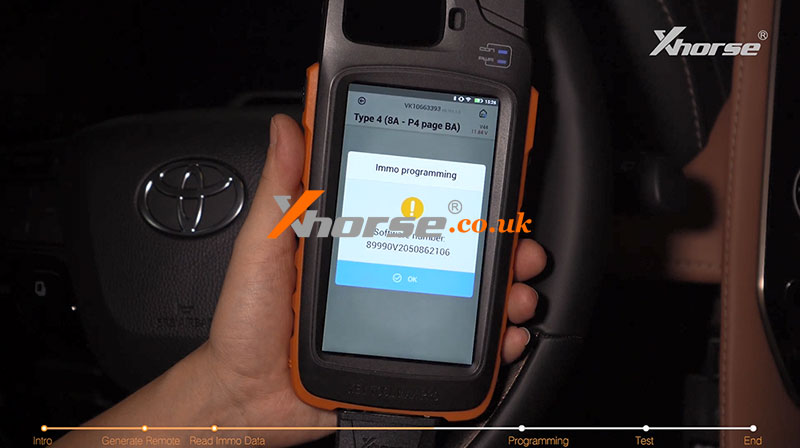
Take out your Key Tool Max Pro and click on [IMMO Programming], select [Toyota]>>[Classified by type]>>[Smart key after 2016]>>[Type 4(8A-P4 page BA)]
You can read the function introduction and then hit [Immo programming] to continue.
Select [Backup smart box EEPROM data]>>[30 PIN cable reading]
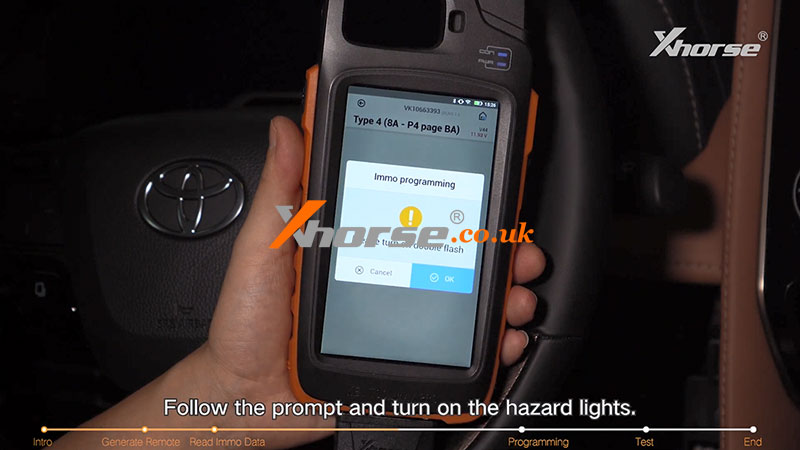
Follow the prompt and turn on the hazard lights.
Make sure it’s connected to the Internet and hit “OK”.
It tells you how to connect the cables.
Now, we go ahead and hit “OK”.
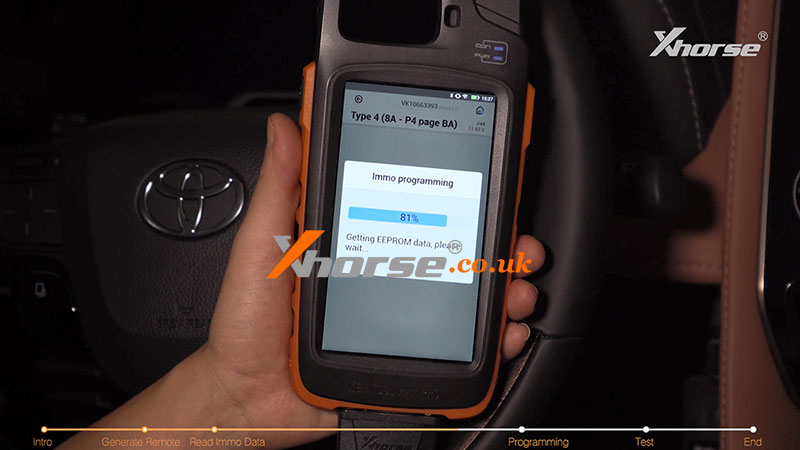
Waiting for the calculation.
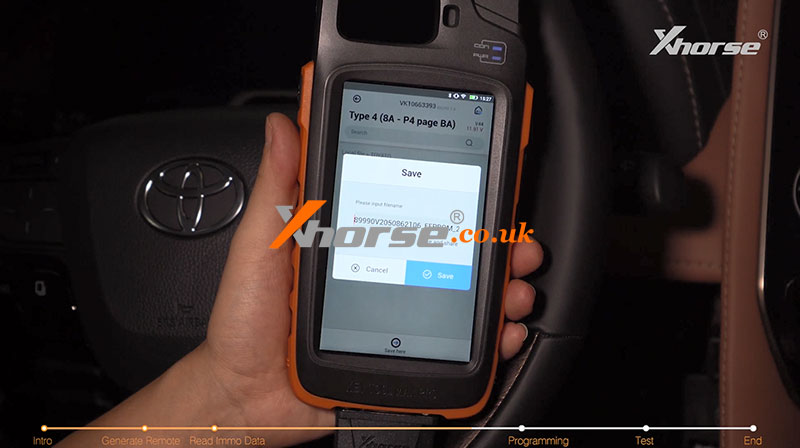
Calculating success and we save the file.
Then we can use the data to add smart keys or generate keys in all key lost situations.
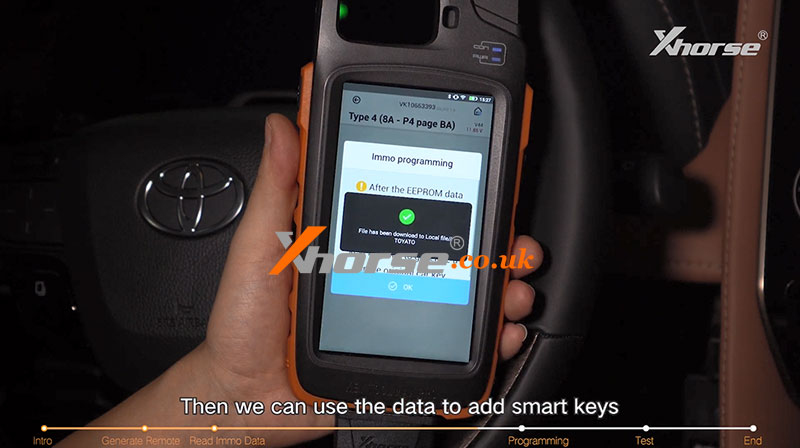
Note: Before going into the add smart keys or key generation of all lost menu, unplug the TOY-BA cable and restore the original 30-pin plug of the vehicle.
3. Programming
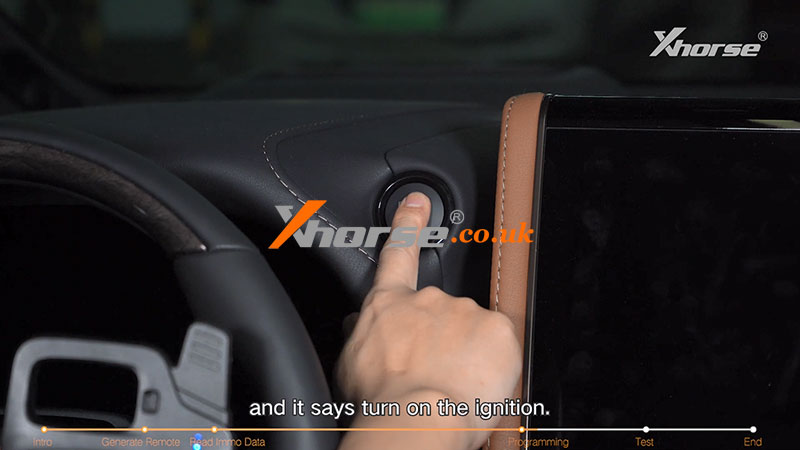
Now we can start programming the smart key.
Click on [Add smart keys] and it says to turn on the ignition.
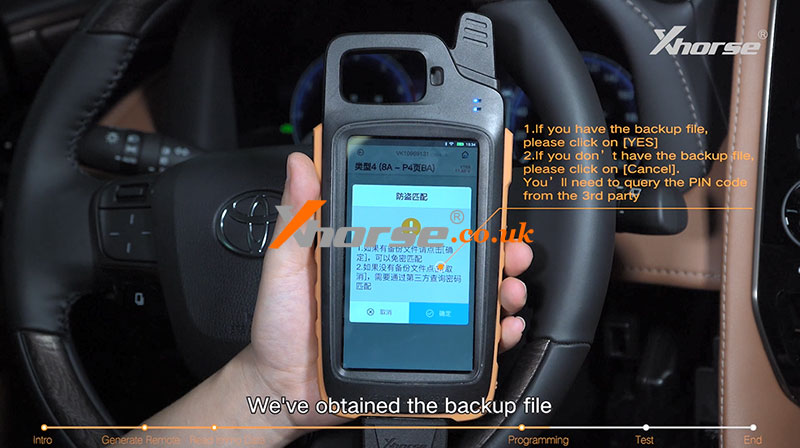
Prompt:
1. If you have the backup file, please click on [Yes]
2. If you don’t have the backup file, please click [Cancel], and you will need to query the PIN code from the 3rd party.
We’ve obtained the backup file, so press “OK”.
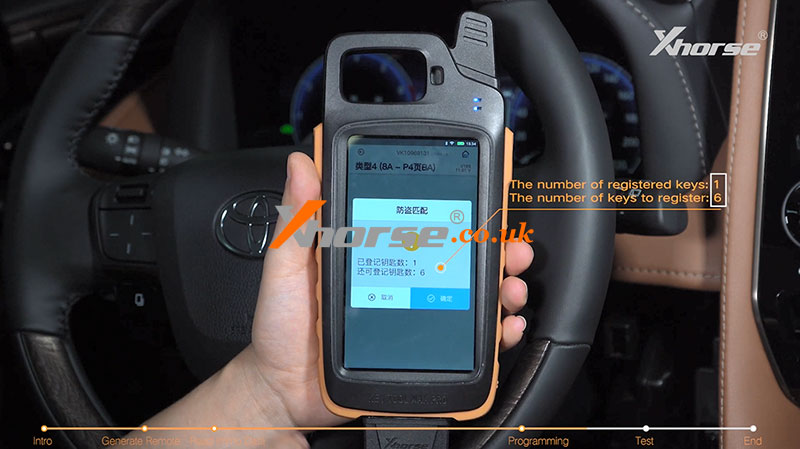
Select the file and now we know we can add up to 6 keys to this car.
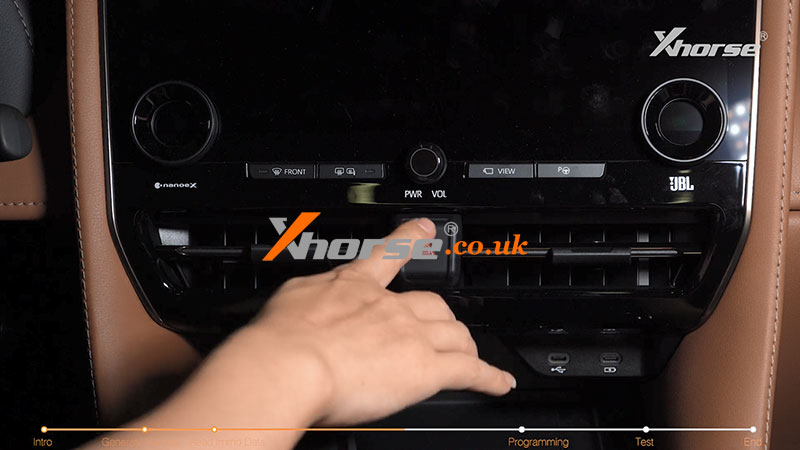
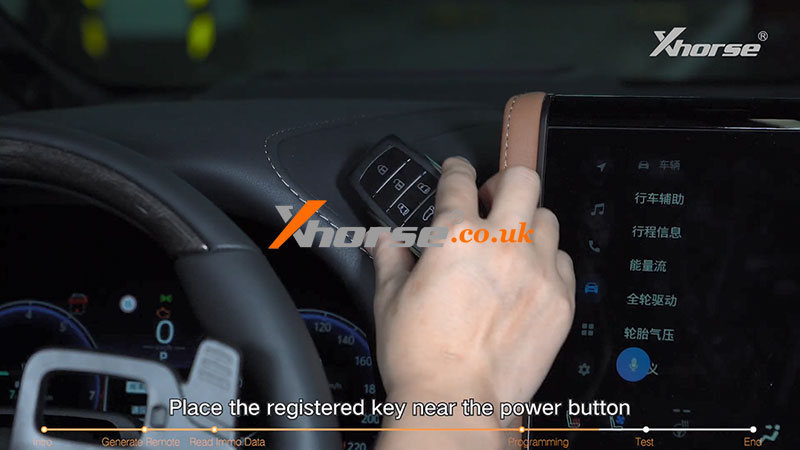
Place the registered key near the power button and take it away after we hear the beep sound.
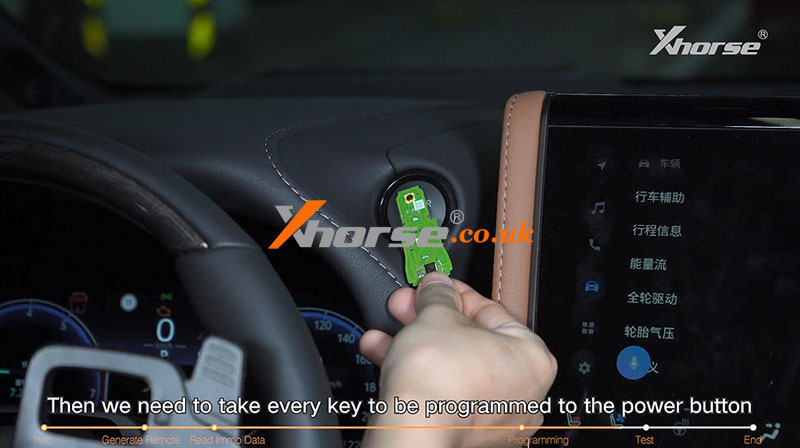
Then we need to take every key to be programmed to the power button and take it away after it beeps twice.
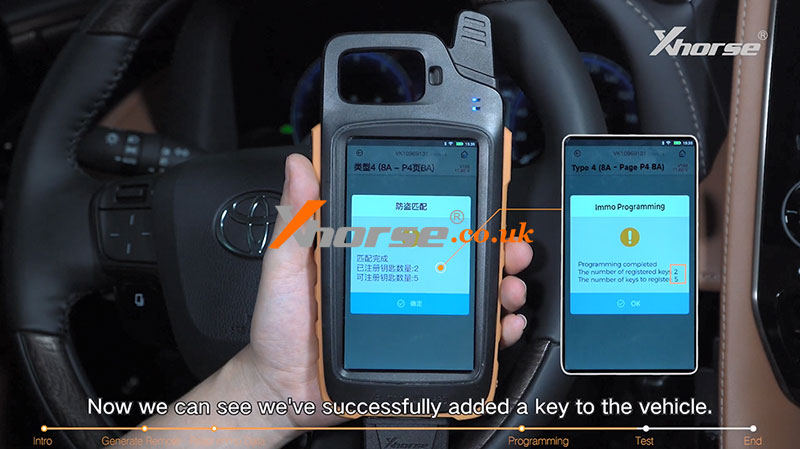
Now we can see we’ve successfully added a key to the vehicle.
4. Test
Then we can test the remote and smart function of this new key.
All functions work perfectly.
Please refer to the video below for more details: